Looking to record phone calls on your iPhone or Android device? We’ve got you covered.
By using a call recording app, you can easily capture any call without needing any special equipment. Call recording apps like the ones mentioned in this article are readily available for both iPhone and Android, and all they require are a few permission allowances to get started.
Why Would You Want to Record Calls?
Call recording can come in handy in both your personal and professional worlds.
At work, recording calls can be a useful tool for when you need to keep records of interviews, discussions with clients, or workplace interactions that you may want to refer to later. These recordings can be especially helpful for employee training and coaching.
You may also want to record calls for personal use. If you want to preserve conversations with loved ones, you can use a phone recording application to save the memories with family and friends. Recording phone conversations can also come in handy if you need to gather evidence for a legal dispute. (Just make sure you’re following all local and federal laws when it comes to call recording. If you’re uncertain of the laws in your area, speak to a legal professional.)
Regardless of your reasons, there are plenty of tools available on the market that make it easy to record your phone calls on both iPhone and Android devices.
Step-By-Step Instructions for iPhone
If you’re currently using an iPhone, here are the steps you can take to record phone calls on your device:
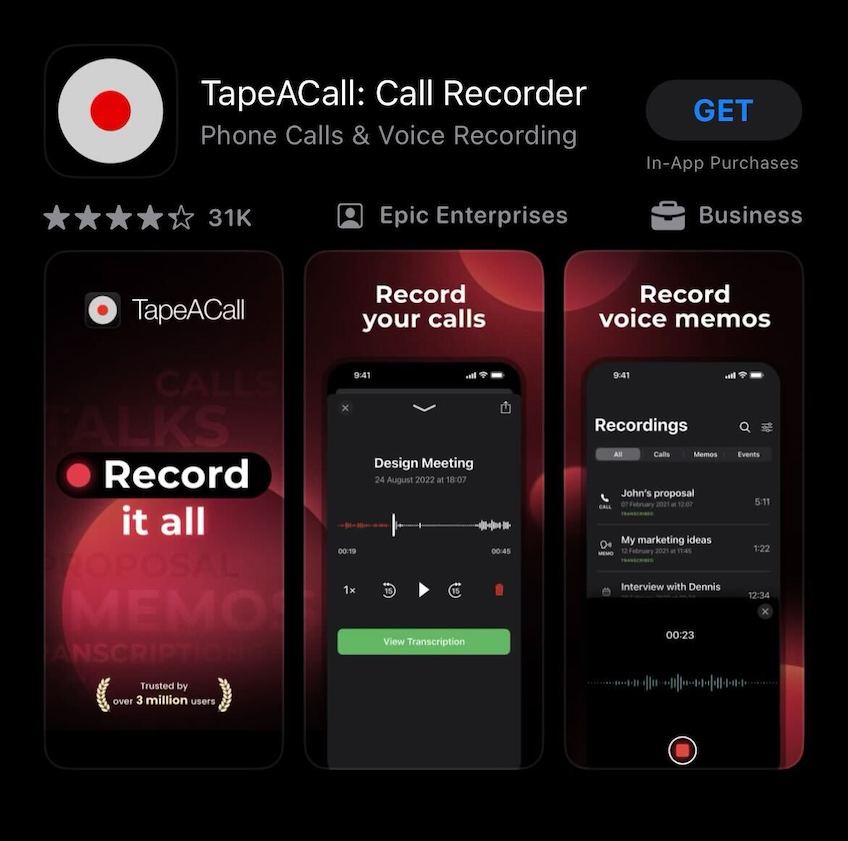
1. Visit the App Store: Select a call recording app based on the reviews and features that align with your specific needs. Some popular options for iPhone include TapeACall, Call Recorder and Recorder.

2. Open your chosen app: Grant your app permission to access your microphone, phone functions and storage when prompted.
3. Hit the record button: Once connected to the call recipient, most apps will automatically commence recording. You’ll notice a timer indicating how long the recording has been active during your conversation.
Remember to use these instructions in accordance with laws and regulations regarding privacy and consent.
To end the recording after completing your call, simply tap on the “Stop” button. The app will automatically save the recording for playback. Then, to access your saved call recordings, navigate to the recordings section within the app. From there you can listen to them again and rename them if needed.
Step-By-Step Instructions for Android
Don’t have an iPhone? Not a problem. Here are the steps you can take to record phone calls on your Android device:
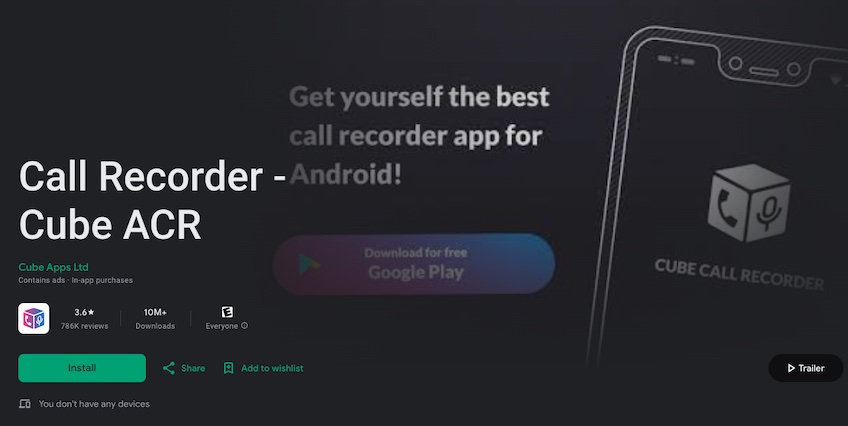
1. Go to the Google Play Store: Download a call recording app that has positive reviews and features that meet your needs. Some recommended options for Android include Call Recorder or Cube Call Recorder ACR.

2. Once downloaded and installed, open the app: Grant it permission to record calls when prompted. Allow access to your microphone, phone calls, and storage.
3. Press the record button: Look for an icon such as “Record” or a red dot indicating that recording is enabled. The app will automatically start recording your conversation once you initiate the call. A timer will display how long the recording has been in progress during your conversation.
When you’ve finished your call and want to stop recording, simply tap on the “Stop” button within the app interface. Then, you can go back into the apps recordings library to listen back to your recorded calls at any time. Within the recordings library, you should also have options to rename your files or to share them with others.
Call Recording App Features to Look out For
The best call recording applications for both iPhone and Android devices offer similar features that make it easy to share and record your phone calls:
- Cloud storage support—Save your recordings directly to cloud storage platforms like Dropbox or Google Drive.
- Note taking—Take notes during a call to highlight moments in the recording.
- Call announcements—Automatically notify callers that their conversation is being recorded.
- Contact syncing—Link your recordings to your phone contacts, making it easy to locate them later.
- Transcriptions—Some apps provide text transcriptions of your recordings, allowing for quick reference.
- Encryption—Enhance security and privacy by encrypting your recorded calls.
- Organization—Label, tag, and categorize your recordings to stay organized.
Other Methods for Call Recording
If you aren’t sold on the idea of using call recording apps, here are some alternative options that you can try out:
- Wired headset—You can utilize headsets with built-in microphones connected to your smartphone headphone jack to record phone conversations. However, the audio quality may vary so be sure to do a test recording before you actually need to use it.
- Google Voice—Google Voice allows you to record all calls for free but does not support outbound call recording initiated by the user.
- External recording device—An easy option is to use a secondary recording device like a second phone to record your phone conversation.
- Landline recording adapter—If you’re using a landline, you can capture both sides of a phone call using a recording adapter. However, you should keep in mind that the setup process requires more effort when compared to recording a phone call on a smartphone.
Is Call Recording Legal?
Now that you know how to record your phone conversations on iPhone, Androids, and landline phones, there’s one question that still needs to be answered. Is this legal?
In some states, as long as one person gives their consent to being recorded, you may record any call you’re a part of without any repercussions. However, in some states, everyone involved in the call must give their consent for it to be recorded. Failure to obtain permission can lead to legal consequences based on the specific laws within your state.
Legality aside, it’s generally considered courteous to inform the other party that they’re being recorded. You should also familiarize yourself with the regulations in your state before recording phone conversations.
